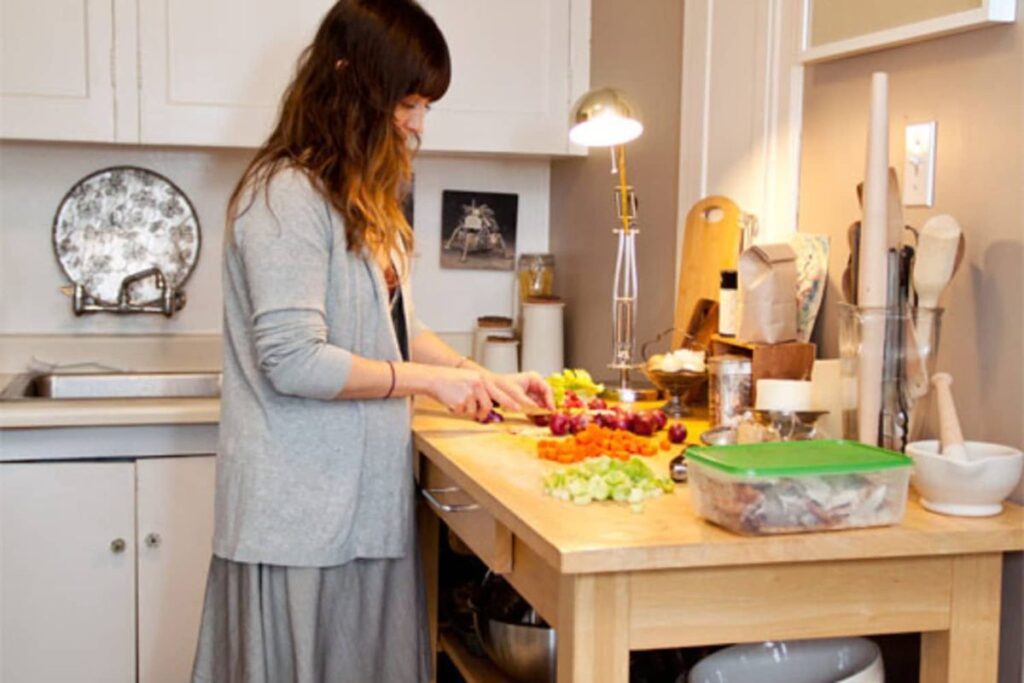
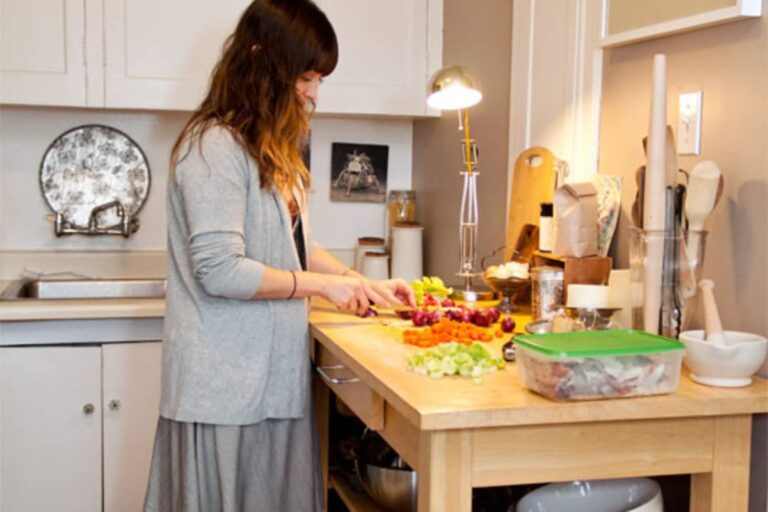
Most kitchens don’t get reorganized until something breaks down in a small,...
By day twenty-two, I was working in eleven inches. Not because I’d...
walking into client kitchens with eight square feet of counter and a...
“Fashion is the most powerful art form there is. It’s movement, design, and architecture all in one.”
Curated weekly insights into the world of luxury fashion and culture.
Join our exclusive community for weekly curated editorials, trendforecasts, and early access to limited edition drops.
By subscribing, you agree to our Privacy Policy and Terms of Service.